
Better photos make better videos.
We make every video from the product photos you choose. Your product will look in the video the way it looks in those photos, so choosing the right photos is the easiest way to get a better video.
Choose photos that show your product clearly.
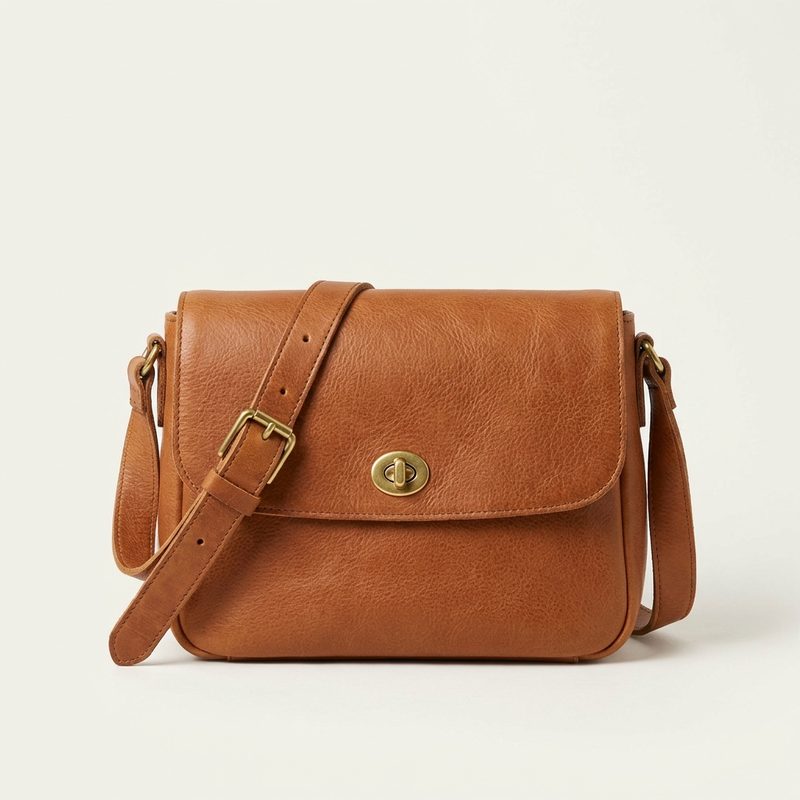
The whole product on a plain background
Make this your first photo. It should show the entire product on a plain background, with nothing else in the picture. The first photo matters more than any other: it becomes the product's main picture, and it is the first one we look at when we write the plan for your video.
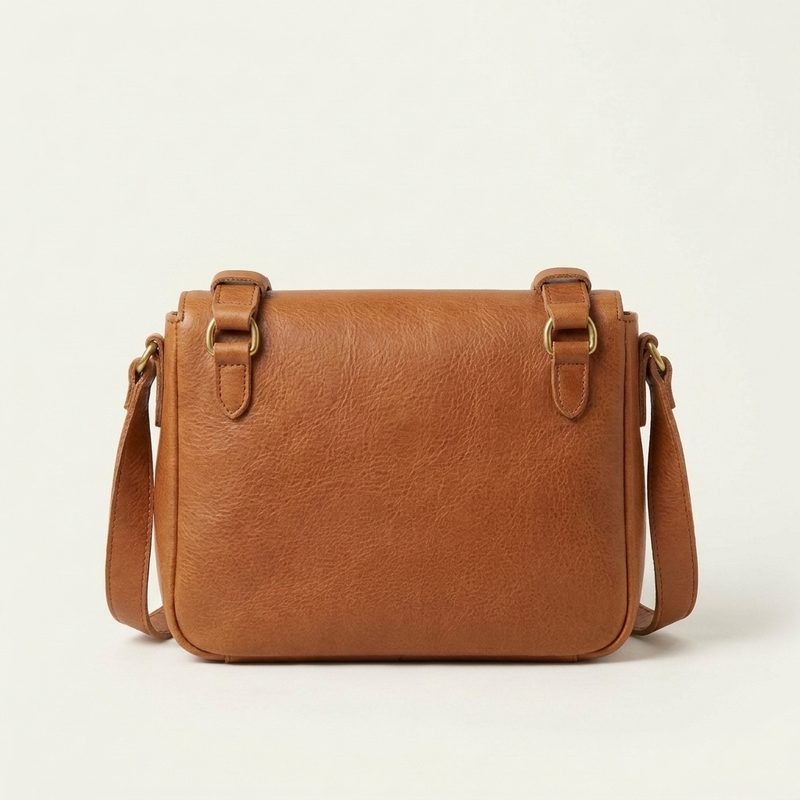
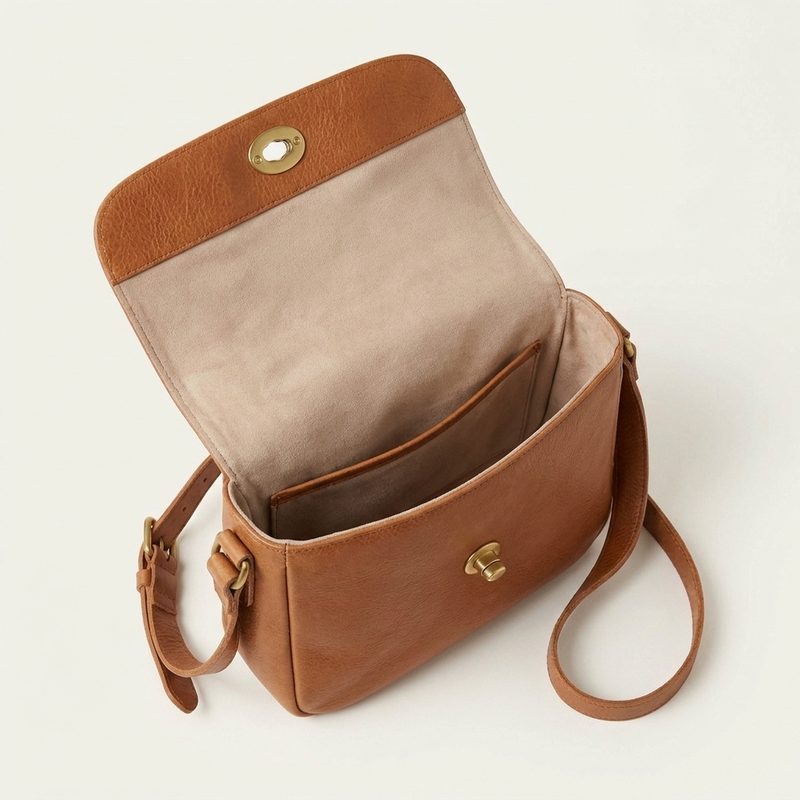
The same product from several angles
Add photos of the front, the side and the back, and of the product open and closed if it opens. The video can only show the sides of the product that your photos show, so if the back matters, add a photo of the back.
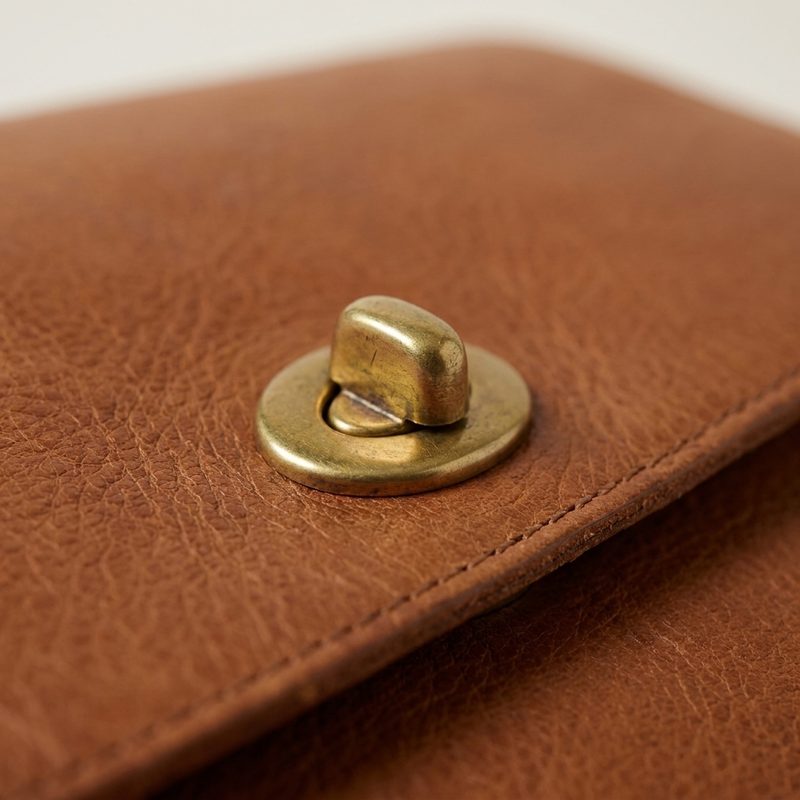
Close-ups of the details
Add close-up photos of the parts that make your product worth buying, such as the material, the stitching, a label or a clasp. The video uses these photos for its close-up moments.
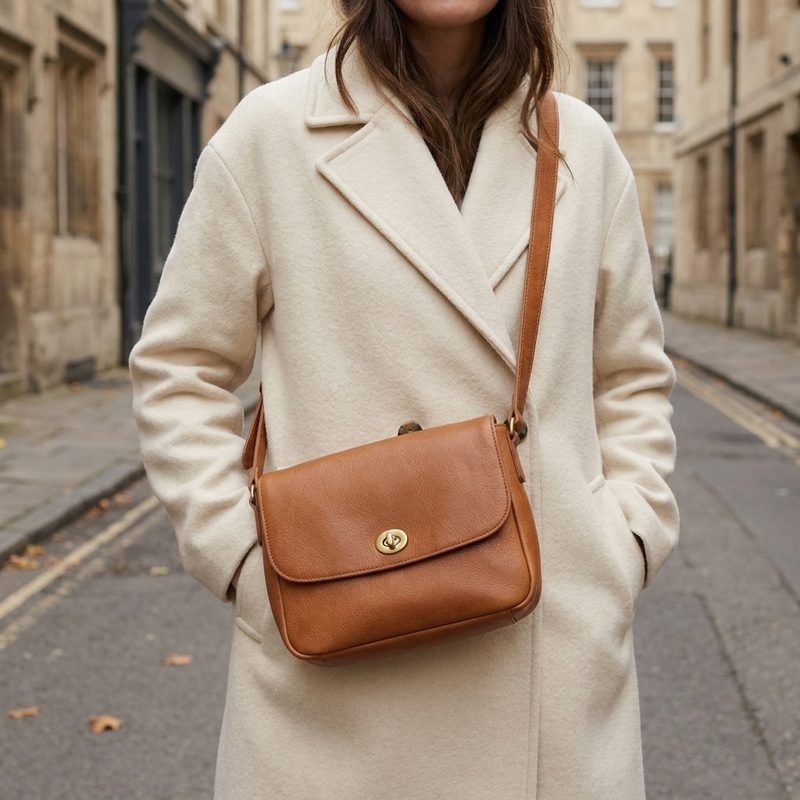
The product being used
These are photos of the product in someone's hands, being worn, or in the place where it belongs. They help the video show how the product is used. Before the video is made, we blur the faces in these photos, and the video shows a different person instead, so the person in your photo will not appear in the video. Use four or fewer photos with people in them, alongside photos of the product on its own.
 Avoid
Use
Avoid
Use
Sharp, well lit, and big enough
Each photo needs to be at least 300 pixels on its shortest side, and larger photos are better. Each file can be up to 8 MB. Choose photos with even light and colours that match the real product. If a photo is blurry or dark, the video will be too.
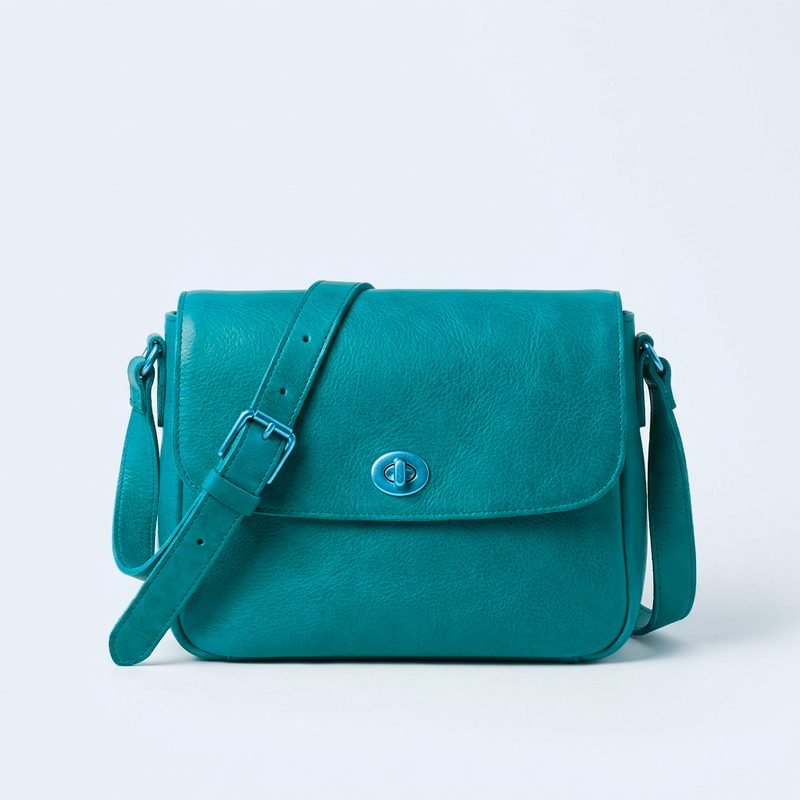
One product per set of photos
A different colour or a different model counts as a different product. Add each one as its own product, with its own photos, and each one will get its own video. When every photo shows the same colour and model, the video shows one clear product.
These photos make the video worse.
When you import from a product link, we move photos like these to the end of your list and leave them unselected, with the reason on the photo. Before you generate, look through “Select images” and deselect any other photo that looks like the examples below. Leave photos like these out when you upload your own.
-
Size charts, specification tables and comparison charts
-
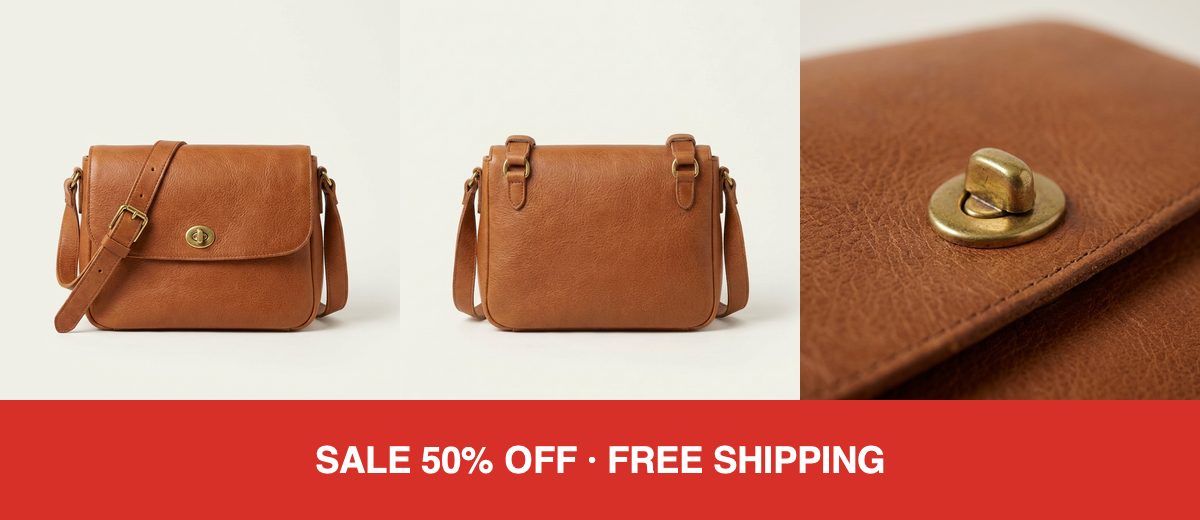
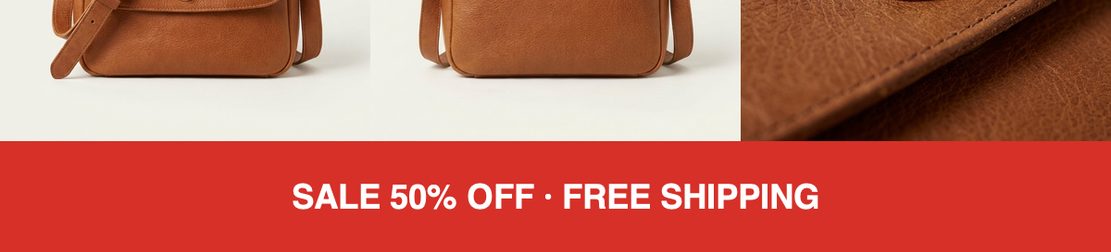
Sale banners, and collages with text on them
-
Logos on their own, and screenshots that don't show the product. Do use screenshots of an app when the app is your product: they are its product photos.
-
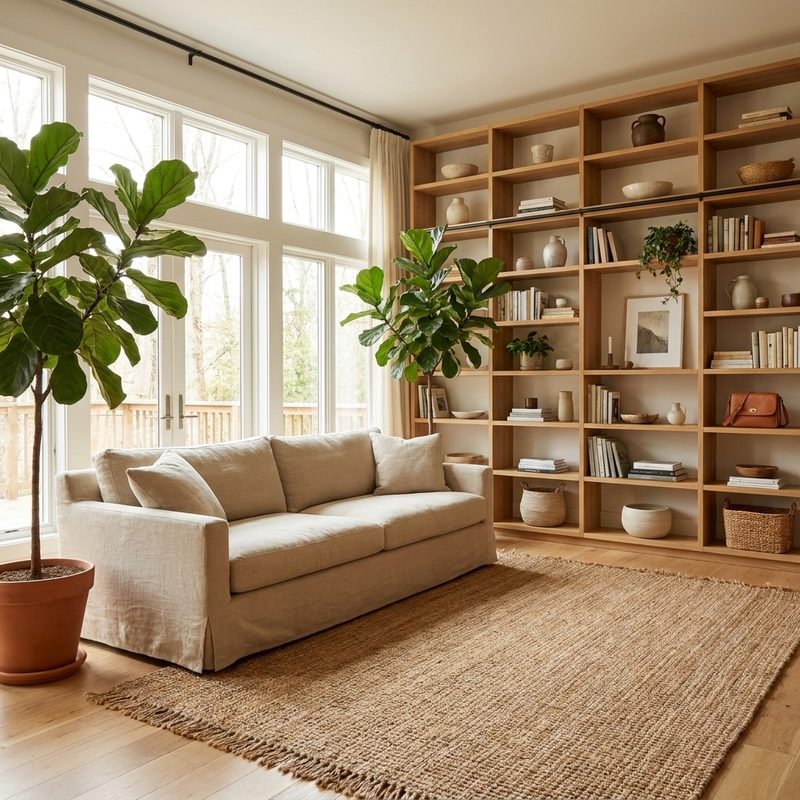
Photos where the product is very small, hidden behind something, or not in the picture at all
-
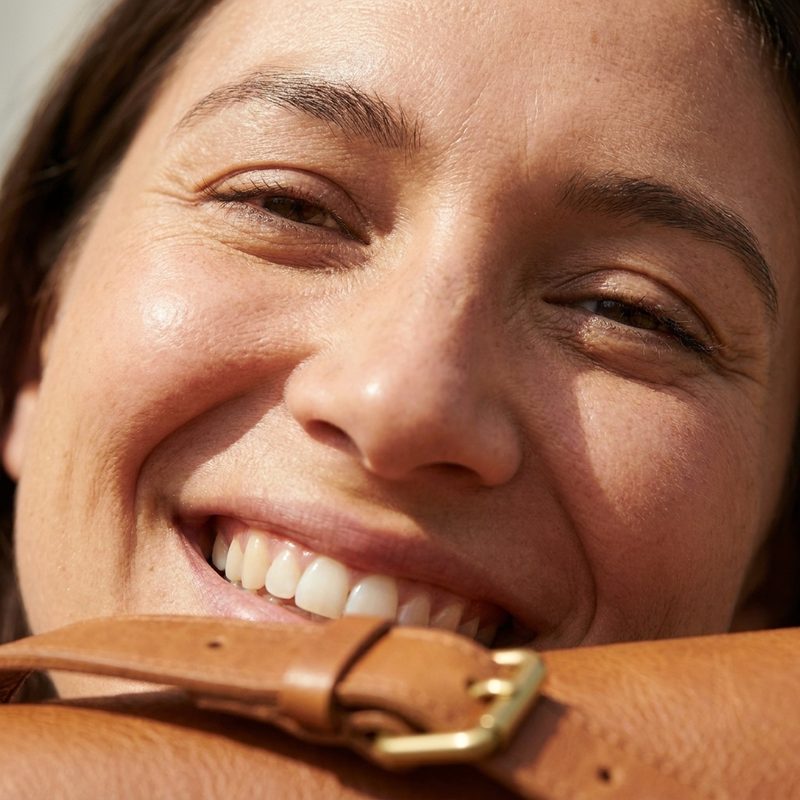
Very close photos of a face, or a face turned at an unusual angle. Our face blur can miss these, and then the video can't be made.
-
Long, thin images, such as banners. These can't be used at all, so we mark them “Can't use” and never send them.
Step by step
What we do with your photos before the video is made.
What we do with your photos before the video is made.
-
1
We collect your photos
If you paste a link to your product page, we copy the photos from that page, up to 12 of them. If you upload photos instead, we use the photos you upload. You can upload PNG, JPG, HEIC, TIFF or WebP files of up to 8 MB each. You can add more photos at any time with “Add image” in “Select images”.
-
2
We put the best photo first
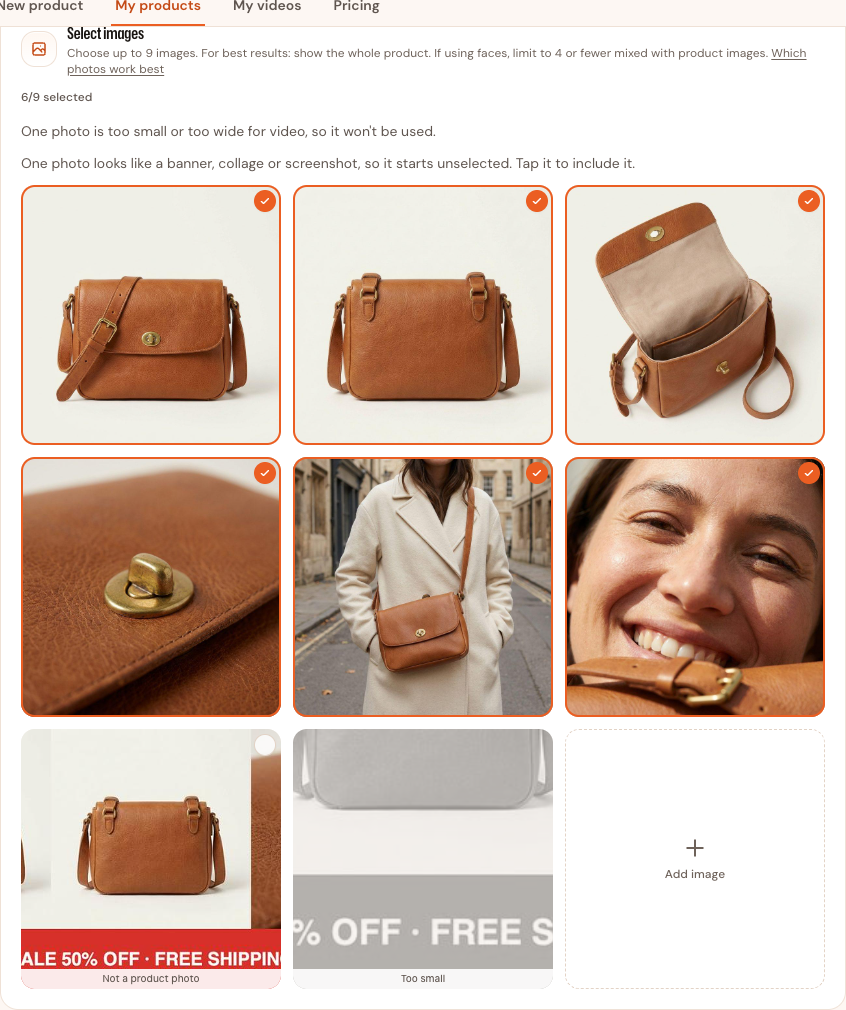
When the photos come from a product link, we sort them. Photos of the product on its own come first, then close-ups of details, then photos of the product in use, and then photos where a face can be seen. Size charts, collages, banners and screenshots go to the end and start unselected, with the reason on the photo; you can still tap one to include it. Photos you upload are not sorted. They stay in the order you uploaded them, so upload your best photo first.
-
3
The first photo matters most
The first photo in your list becomes the product's main picture, the one you see in “My products”. We also look at the first 4 selected photos when we write the video direction, which is the written plan for your video that you can read and change on the Brief step. Make sure the first one shows the whole product clearly.
-
4
You choose up to 9 photos
We select the first 9 photos that can be used. The video is made from whichever photos are selected when you press “Generate video”. You can change the selection in “Select images”, which appears on the Brief step and again on the Generate step. Tap a photo to deselect it, and tap it again to select it. To remove a photo from the product completely, press “Back to product” on the card with your product's name, then use the delete button on the photo.
-
5
We check every photo
A photo can't be used for a video if it is smaller than 300 pixels on either side, or if it is long and thin like a banner: more than 2.5 times as wide as it is tall, or as tall as it is wide. We mark these photos “Can't use” and never send them. We don't stretch or crop a photo to make it fit. Before the video is made, we also blur the faces of any people in your photos; a face printed on the product, such as on its box, is left as it is.
When something goes wrong
What each message means, and what to do next.
What each message means, and what to do next.
Before a video is made, the video model (the AI that turns your photos into a video) checks your photos and your video direction. If it finds a problem, it refuses to make the video. The video is then marked “Failed”, with a message under it that says what the problem was and what to change. We also send you the same message by email.
A failed video doesn't mean your product can't be made into a video. Usually you only need to change one photo, or a few words of the video direction.
When you press “Generate video”, the credits for that video are taken from your balance. If the video fails, all of those credits are put back in your balance automatically. You don't need to ask for them.
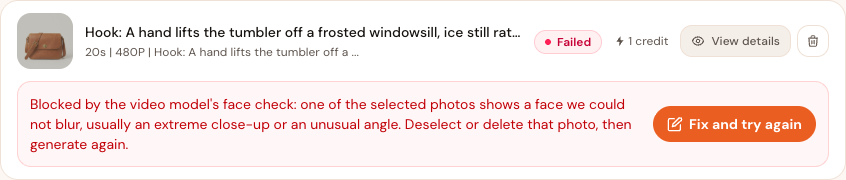
“Blocked by the video model's face check”
The video model won't use a photo that shows a real person's face. We blur every person's face we can find before your photos reach the video model, but this time one face was missed. That usually happens when a face fills most of the photo, or is turned at an unusual angle.
What to do
In “Select images”, find the photo with the very close or turned face and deselect it, then generate again. Your other photos can stay as they are.
“Blocked by the video model's image screening”
The video model checks every photo for anything that might be sensitive, and it flagged one of yours. The message doesn't say which photo. Photos of people are flagged most often, especially photos of children and photos that show a lot of skin.
What to do
In “Select images”, deselect the photos of people, then generate again. Add photos of the product on its own with “Add image” when you need more photos.
A photo is marked “Can't use”
You'll see this in “Select images” before you generate, so it isn't a failed video and no credits have been used. The photo is smaller than 300 pixels on one side, or it is long and thin like a banner. The video model can't use it, so we never send it.
What to do
Nothing, as long as other photos are still selected. Add another photo of the same product with “Add image” when you want more photos in the video. Add a photo that can be used when every photo is marked “Can't use”: you can't generate without one.
How to fix a failed video
Every failed video has a “Fix and try again” button under it, on the product's page.

-
1
Press “Fix and try again”. It opens a new copy of your brief, with the same video direction, the same photos and the same settings as the video that failed.
-
2
The message stays at the top of the page while you work, so you can always see what needs to change.
-
3
Make the change the message asks for. For a message about a photo, deselect that photo in “Select images”. You can add a better photo there with “Add image”. For a message about the video direction, press “Show full direction” under “Video direction”, then change the wording the message describes.
-
4
Press “Next: generate”, then “Generate video”.
If you generate again without changing anything, the video model will refuse the video again for the same reason. The one exception is a message saying the video model ran out of time: then nothing needs to change, and you can simply generate again.
Ready to make your next video?
Add a product by pasting a link to its page, or by uploading its photos. To see what a video direction does with photos like these, read Video direction.